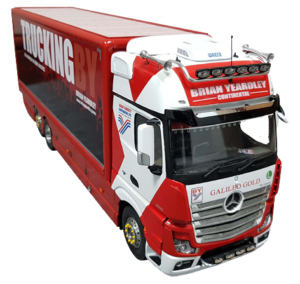
As well as CNC-machined parts, I have incorporated 3D printing into most of my model trucks. UPDATE.......I recently added a second Anycubic Mono X printer and a larger Anycubic Wash & Cure 'Plus'
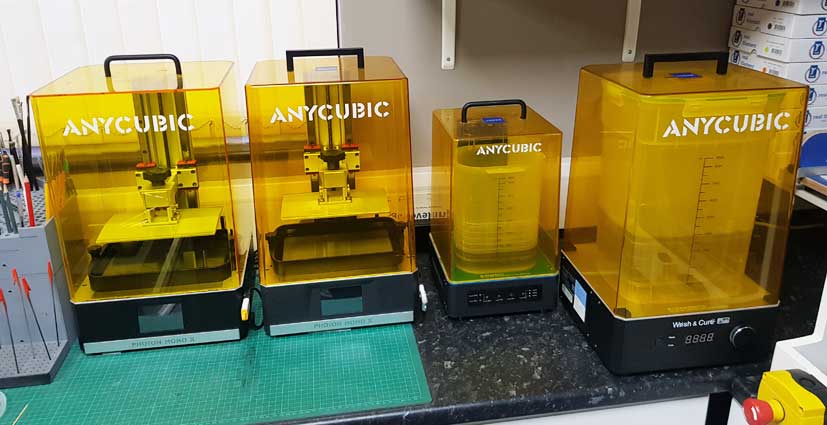
Mono X 3D printers and Wash & Cures
Mono X resin printers
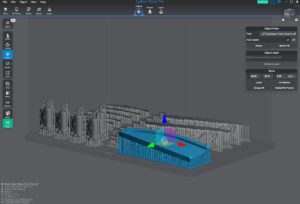
The Mono X is a UV photocuring LCD type device, using resin as the printing medium and a large build volume of 192 mm x 120 mm x 245mm, the 4k screen resolution produces incredibly detailed parts. The detail obtained by this machine, especially for the low cost is remarkable. Parts are designed in a 3D CAD program and saved as an STL (Stereo Lithography) file and then imported into the printer's supplied 'splicer' program. This splicing software converts the file into the layers required for printing.
As a rule, supports are required when printing with any 3D printer. These supports are generated automatically by the splicing software but can be manually adjusted if necessary. Supports are sacrificial, meaning that they are easily removed when the printing is completed.
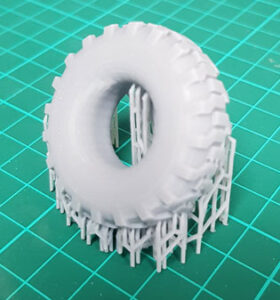
The contact point with the actual part being printed is small, when removed, these supports are barely noticeable, although a light sanding will remove any trace. Take a look at the screenshot of the splicing program above and you'll see the supports in grey.
Anycubic Wash & Cure 'Plus'
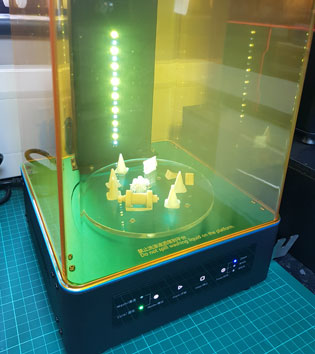
Recently added is the larger Wash & Cure 'Plus' system from Anycubic. This all-in-one machine is virtually the same size as the Mono X resin printers and is used for both washing the resin-printed parts and then curing them. Washing is done by agitating a solution of isopropyl alcohol, with a rotating paddle in a canister. The parts can either be placed in the supplied metal basket or the build plate from the Mono X printers can replace the basket and the parts can be washed whilst still on the build plate.
This clever machine design also has a built-in UV LED light array which is used to cure the resin parts. Once washing has finished, excess solution is removed with compressed air or paper towels and the solution canister and basket are removed. A motorised turntable is then replaced where the canister sits and a UV LED light exposes the parts, with a convenient timer function. It has a much larger capacity than the previous version.
This is an ideal solution to two important functions of resin 3D printing, in a compact and well-designed machine.
Creality FDM printer
The Creality CR-10 is one of the world's most popular 3D printers. This FDM (Fused Deposition Modeling) machine uses plastic filament as it's medium which is heated and extruded from a fine nozzle. Think of it as a very precise hot-melt glue gun! The filaments come in a variety of materials including the popular ones of PLA (Polylactic Acid), ABS (Acrylonitrile Butadiene Styrene) and PETG (Polyethylene Terephthalate). I tend to use PLA, as these seem to be the easiest to print, for me at least! Again, parts are produced in a 3D CAD program, saved as an STL file and then opened in a splicer program. The splicing program I use for this printer is Simplify 3D. The build volume for this machine is much larger than the Mars resin printer, at 300mm x 300mm x 400mm but rarely all of this is utilised. The resolution of low-cost FDM printers is not as high as UV photocurable machines but some perfectly acceptable results are achievable.
This 3D printer is used mainly for producing jigs, templates and modelling aids in the workshop but not for the actual models. This is due to the lower resolution of FDM printers, which often have visible layer lines in the parts.
